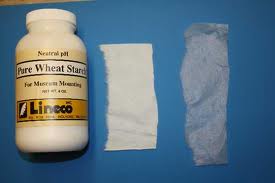
 Japanese repair tissue adds strength to a repair. It is used when the tear does not have wide, overlapping edges and needs reinforcement.
Choose the best method for tearing and applying paste before beginning the repair.
Japanese repair tissue adds strength to a repair. It is used when the tear does not have wide, overlapping edges and needs reinforcement.
Choose the best method for tearing and applying paste before beginning the repair.
Apply paste on the Japanese repair tissue, then pick up the tissue using a needle, microspatula or fine tweezers. Carefully lay the tissue on the tear. If the tear is at the edge of the page, extend the Japanese tissue 3/8” past the edge of the paper. This extension can be turned under now or trimmed when the repair is dry. It can be difficult to work with a piece of Japanese repair tissue over 3” so try repairing long tears with several short, overlapping pieces of Japanese tissue. While it may seem inviting to use one long piece of tissue, it is much harder to control, and the finished repair can look clumsy.
Once the pasted Japanese tissue is laid over the tear, cover it with a strip of wax paper and use a folder to gently press the edges of the tear together. Remember to always work from the base of the repair toward the edge of the page. Wipe away any excess paste that is forced out of the edge of the tear. If there is much excess, use less next time. When the entire tear is repaired, cover it with wax paper or non-stick material and blotting paper, then put it under weight. Remember, if the repair does not dry under weight, the paper can buckle and curl. After the repair is dry, curl the paper around the tear and make sure all the edges are well adhered. If there are loose edges, repaste and dry under weight. If the page creases at the repair, consider applying a second Japanese repair tissue patch on the opposite side of the original repair.